917-037
November 17, 2003
Can you
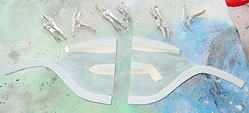
say "Your weight in gold"? We can, because a new
suspension for a 917 is worth its weight in gold. You can
buy parts like this at Carl Thompson, Inc.
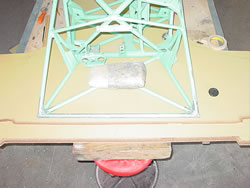
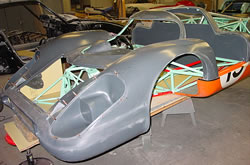
Although the chassis
is new (34 years ago), all the threads in the welded bungs
(seat belt bracket) needed to be cleaned with a tap because
of the paint. Carl and Armando chased the threads on every
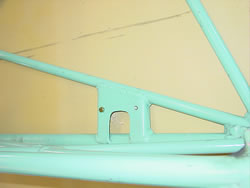
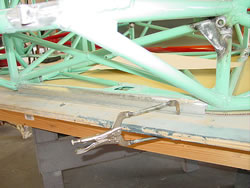
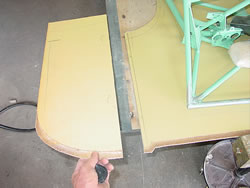
bung on the chassis, making my job a little easier. The picture
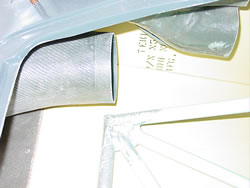
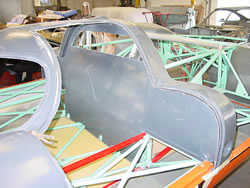
on the right shows the side pod mount that was not attached.
We welded in the left and right side.
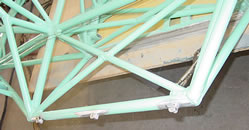
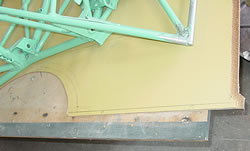
The side
pod sits on the aluminum and then is held at the top of the
door sill with
three 6mm weld-on bungs.
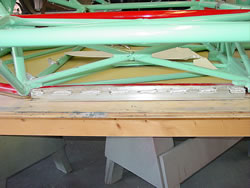
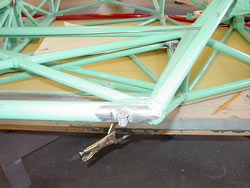
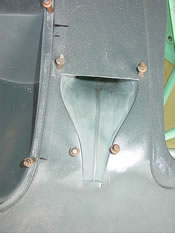
The clamp
is holding the aluminum bracket for the side pod. In the other
picture, you can see the three 6mm weld-ons (we call these
bungs).
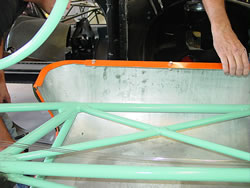
We've used the
side pods from our Gulf 917 to index the body. We will put
new side pods on Carl's car. It was easy for us to do this
because I want to repaint the Gulf side pods so the car can
be nice and pretty at the Porsche event in Daytona next April.
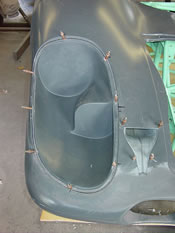
The only
dash I own for a prototype is an original 908 dash. I have
to make a mold of this dash to make a part for the 917. The
part won't be exact because the switch face is a little different.
I will make the 917 switch plate from a piece of foam and
then attach it to the existing dash.
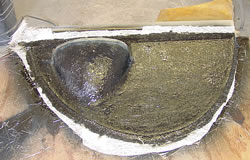
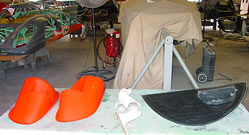
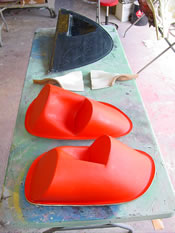
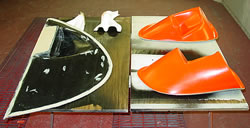
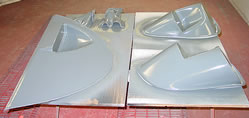
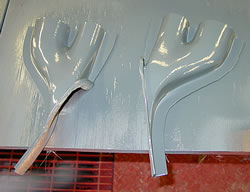
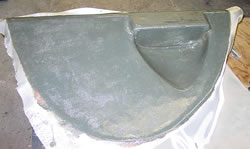
The three
molds are headlight covers, front naca ducts (for driver's
comfort), and the dash mold.
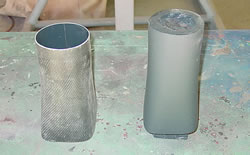
I made these parts Saturday and Sunday.
The molds are waxed
and then shot with duratech.
After the duratech
kicks, I give them two layers of 3/4 oz. mat and one layer
of 4 oz. s-weave.
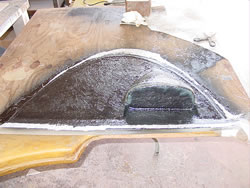
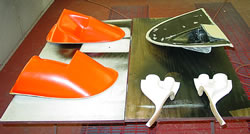
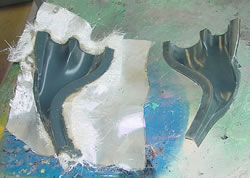
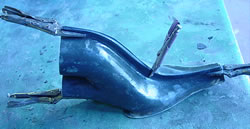
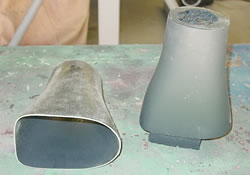
The parts are done,
out of the mold, and ready for trimming.
Trimmed and untrimmed.
Before the two
halves are glued together, I sand them with 220 because it's
too hard to get your hands in there after they are glued.
I don't want to have cleco holes so I use vise grips.
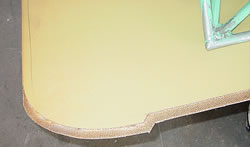
The bottom of the
car is 4mm nomex honeycomb. Where the floor meets the nose,
the top layer is removed so the cabosil will join the nose
to the floor at the same level. This is done because the thickness
of the nose is 2.5mm.
The underside
of the nose, just below the headlights is actually open. Porsche
would use an aluminum panel that had louvers, but not for
every race. The louvers were a down force trick.
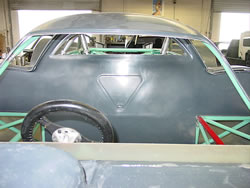
A lot
of magic happens real quick when the parts are made. Here,
the roof is fit to the nose.
This seam will be finalized when the window is set in.

Andy, get the battery
on charge and some fuel !
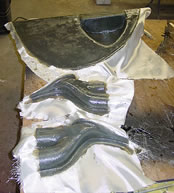
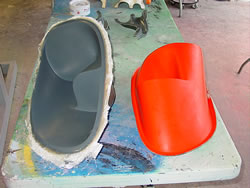
I couldn't find
my mold for the brake ducts, so I made a new one. Then I made
two ducts.
Here is the installation
of the right side duct.
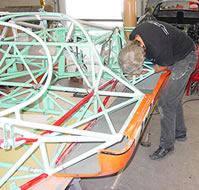
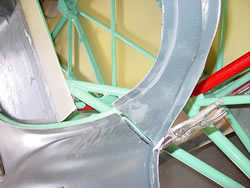
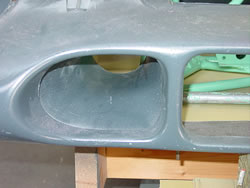
Here, the firewall
is cut to fit. All the parts that you've seen installed on
the car are held in place by clamps or clecos, but they all
are indexed. They will be removed various times and then attached
permanently after the chassis is painted.
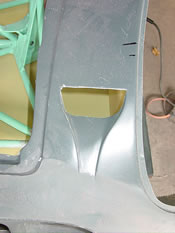
The lower section
of the naca duct is on the nose from the mold. When the new
duct is installed, you have to cut this area out. When the
duct is glued in, a little body work on the outside and it's
done.
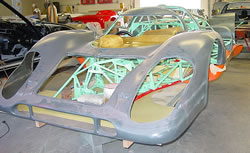
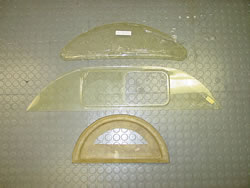
It looks
more like a car every weekend. My demands for the parts are
answered immediately by Carl (old mother Hubbard cuz he keeps
going to the cupboard). These are the parts that he provided
and they are all original N.O.S. parts. The picture on the
right is the Daytona window (it goes on the roof so you can
see the top of the bank). The other two parts are the rear
window and a fiberglass spare tire mount.
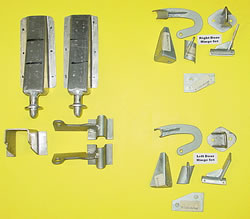
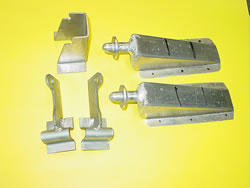
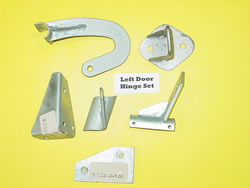
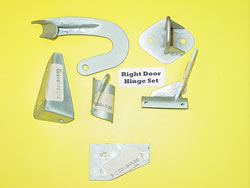
Back to
their weight in gold.
The parts
are the hardware for the deck lid and the doors (hinges, door
latches, etc.) Having all these parts makes it easy to have
this car painted and delivered to Carl in less than 90 days.
Don't forget to keep checking Carl's website at www.pbase.com/917carl
<<<
Previous Update | Next Update
>>>