917-037
November 24, 2003
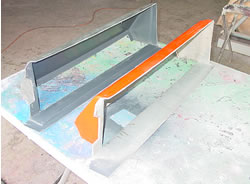
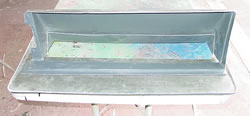
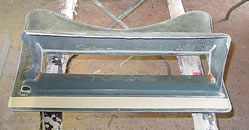
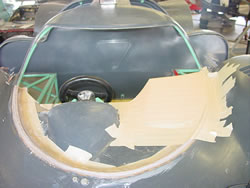
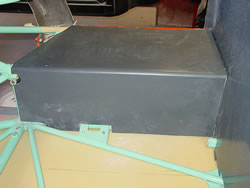
The nose
cover (cooler cover) consists of two parts, the inner duct
and the outer cover.
In these two pictures, the inner duct is being made.
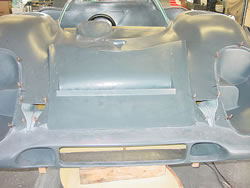
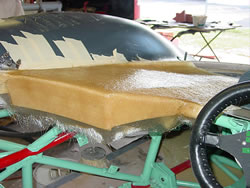
The cooler
cover is on the car awaiting the inside duct to be glued to
it. This can only be done after the cooler is installed. The
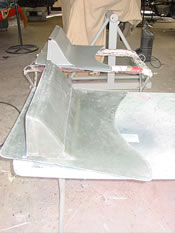
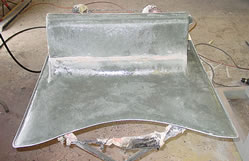
photo on the right is the cooler cover from our Gulf 917.
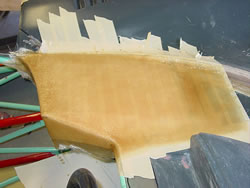
The duct
is now sitting on the cover.
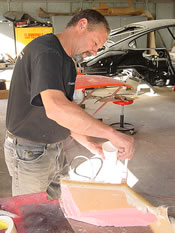
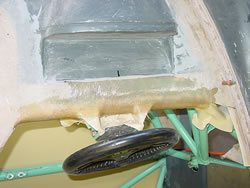
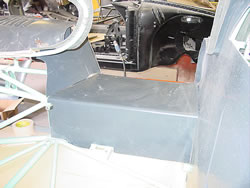
Now, I'll
install the oil cooler Carl sent me. The cooler was missing
the 6mm nut retainers.
These nuts are still available and easily installed.
First
the inner duct is fit around the cooler, then the cover is
installed and cleco'd to the duct. Then, the two parts are
glued together with cabosil while in place.
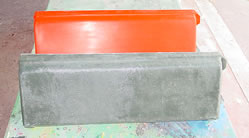
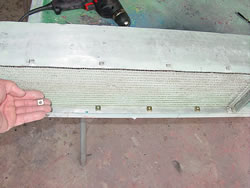
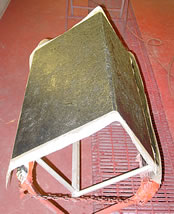
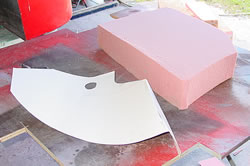
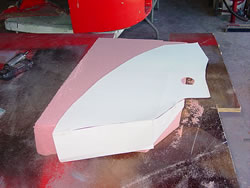
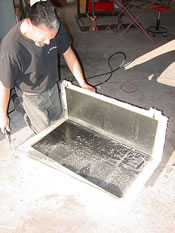
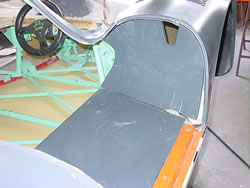
This is
the finished product. The photo on the right is the mold of
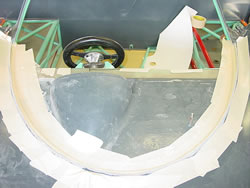
the doorsill.
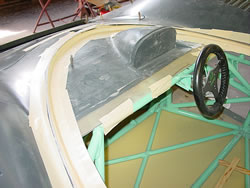
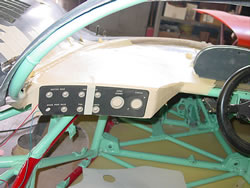
The base
of the dash is now fit and indexed. The window edge has also
been made in the same area around the dash.
This is
done by making a pattern from a bondo squeegee, utilizing
the shape where the window meets the body. This is the radius
where the window sits and get glued to the body.
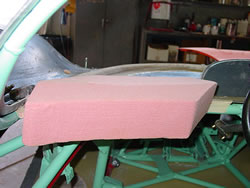
The switch
pod is the one part I didn't have. Andy made me a pattern
from the Gulf car and I utilized this pattern to make a foam
buck.
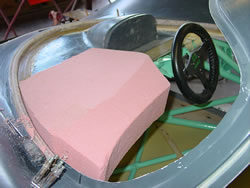
The shape
is close, but can't be finalized until it's glued to the existing
dash and can only be shaped after it is attached.
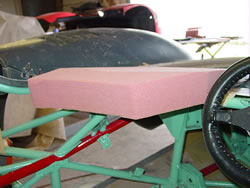
The bondo
is what I use to glue the foam to the dash.
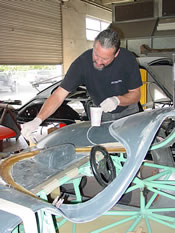
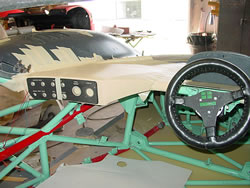
Now, I
can shape it. The black switch face is a lighted face which
lights up all the switches with words (ignition, fuel pump,
etc.). This is very handy for night racing. I have actually
never seen one in a 917 probably because Vasek Polak got them
all from Porsche and Carl got them from Polak.
We both think they are very cool, so Carl is going to install
it in 037.
Now I
tape off all the foam and the surrounding area and glass over
the tape.
(remember, tape is a great mold release)
After
the mat is applied and cures, I will remove it and final fit
the pod.
I am adding
a 12mm edge of glass to the bottom of the switch face.
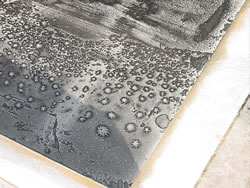
Now I
am releasing the mold from the plug that you saw in an earlier
picture. A crazy thing happened. When I was cutting off the
excess glass off the mold, the dust made these weird cosmic
patterns on the mold surface.
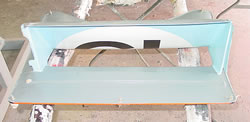
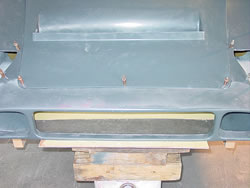
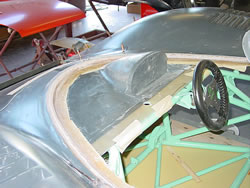
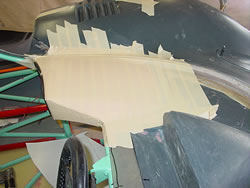
After
making a part from the doorsill mold, I trimmed it to fit
on the driver's side. To finish off the dash, I added the
front radius where the dash meets the steering column bulkhead.
The top
of the doorsill has been trimmed and fit and will be final
installed after the chassis is painted.
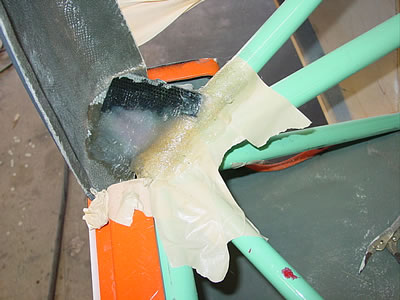
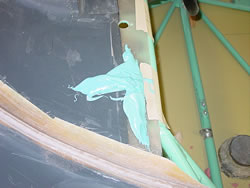
To index
the fender area of the nose, I glassed a small brace from
the fiberglass to the chassis. You can see I glassed over
tape so this can be removed without sticking to the chassis.
The reason I am doing this is because the side pods will be
removed today to make molds and the rest of the body has to
stay indexed to the chassis. Don't forget to keep checking
Carl's website at www.pbase.com/917carl
<<<
Previous Update | Next Update
>>>