G-99
December 6, 2002
After
the duratech, we lay one layer of matt and let it dry. Then,
patterns were made for these 1/8 inch foam structure panels.
We mix a cabosil wet slurry and brush it on the backs of the
foam panels. We then set the panels in position and let them
dry. Next, we lightly sand the corners of the foam and then
do the final layup, sandwiching the foam between the first
layer of matt and the second layer of carbon fiber.
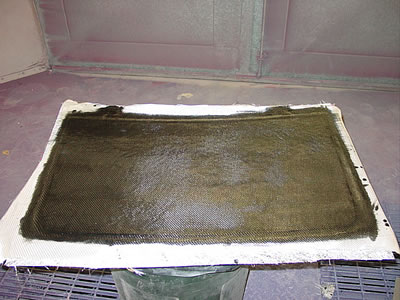
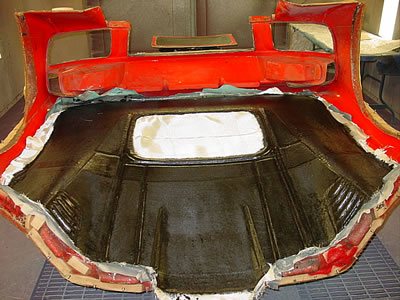
The foam
is sandwiched in the luggage cover. Black pigment is used
in the resin so this part needs no paint on the inside (carbon
fiber wasn't used in this application).
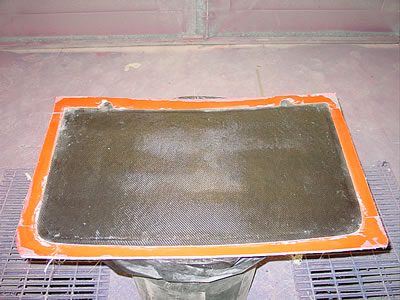
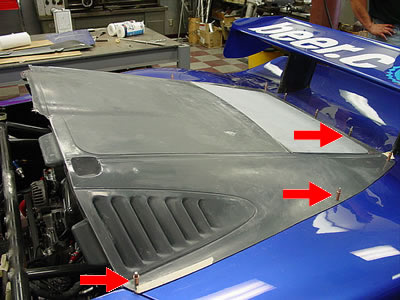
The part
is now trimmed and ready for fitting.
The laminating
is now finished and will be removed from the mold in 24 hours.
The other
end.
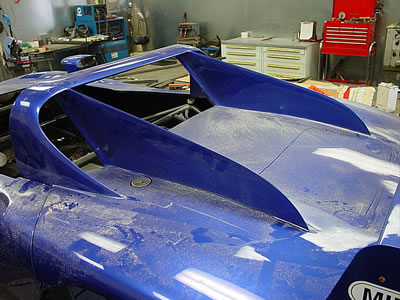
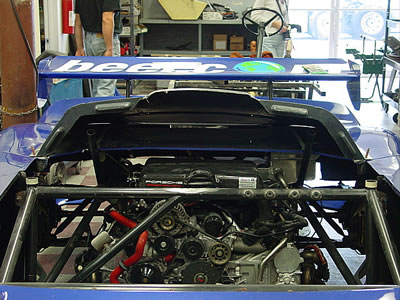
Now, we
have to cut the roll bar cover and air guide fins from the
original GT-1 tail. We are using this tail because it's already
fit to the car and for the Daytona test it's way faster to
convert the spyder tail to a coupe tail than it is to make
a new tail (fitting and painting takes a long time, we don't
have much of that lately).
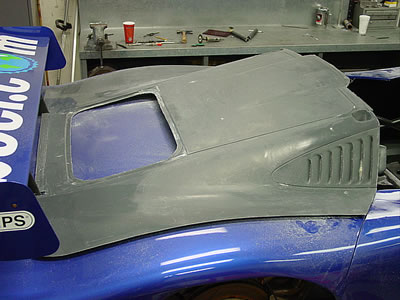
This is
the part from the mold. We will attach this to the tail after
the roof, doors, and windshield have been made and fit to
the existing bodywork.
Another
view.
Another
view.
The tail
section is now indexed. As you can see cleckoes are drilled
and installed.
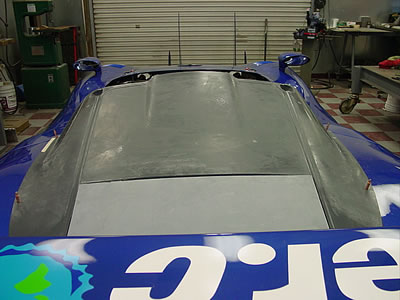
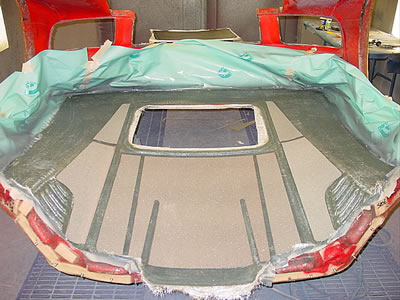
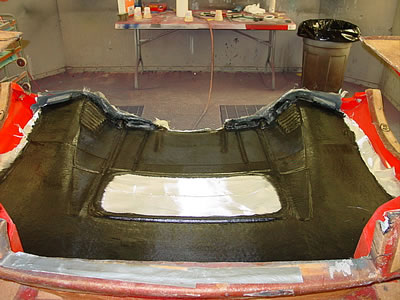
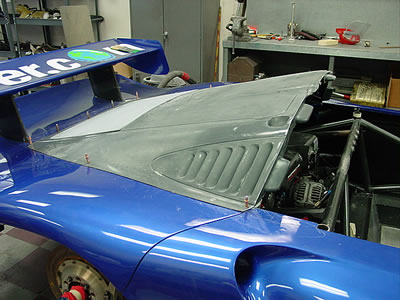
Now, the
luggage cover is fit. Incidentally, this car, being homologated
as a GTS Porsche factory type car, does have a luggage trunk
when delivered new. When this tail was a Champion tail, it
caught fire in a race and Champion gave it to us. The charred
area was actually the part that we replaced. That's why we
chose this tail to make the spyder.
<<<
Previous Update | Next Update >>>