906-151
June 20, 2003
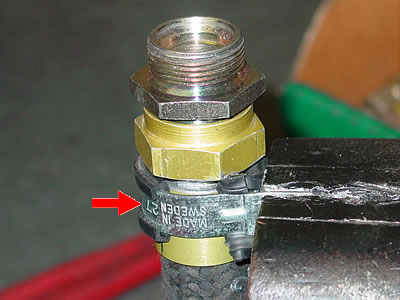
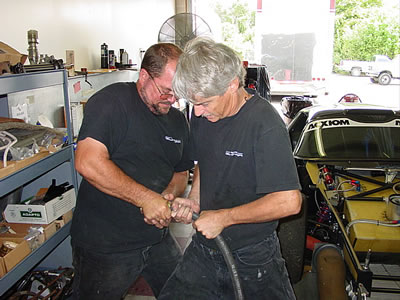
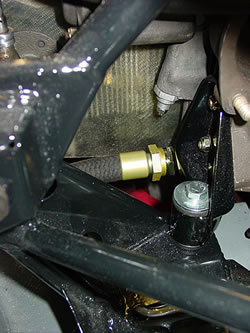
The arrow
points to a tube clamp. The tube clamp is tightened around
the aluminum sleeve, then the nut tightens the ferrel into
the sleeve
It sounds easier
than it is because all the tolerances are tighter than loose.
The ferrel is not
tight on the left, but is tight on the right.
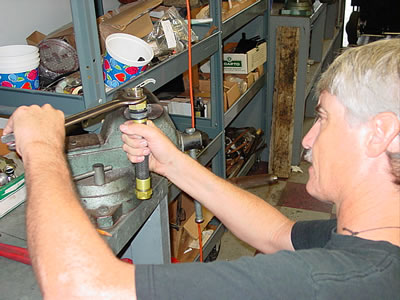
Plenty
of anit-seize is used during this process.
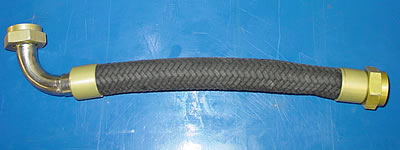
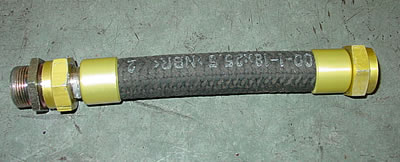
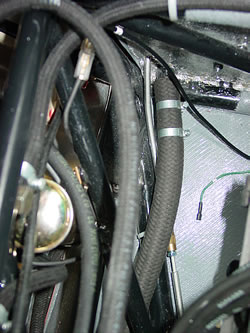
Finished product.
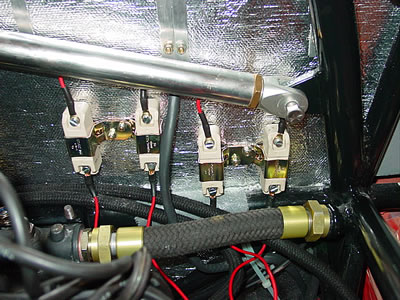
In this
picture, you see the factory resistors and one of the oil
lines completed and installed.
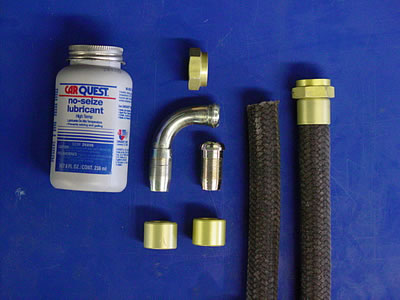
This is part of
the zero tolerance battle.

Here is the before
and after.
The cooler is about
to be mounted.
More signs of new
oil lines.
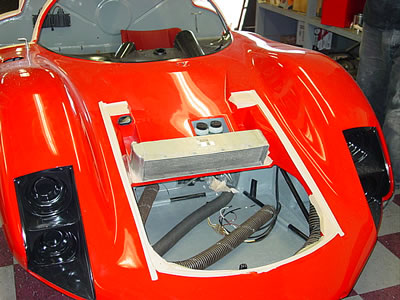
The car seems pretty
simple until you get it all together.
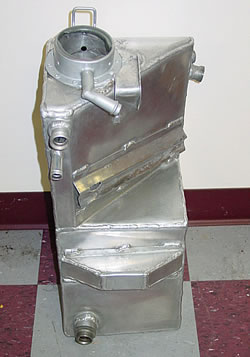
Oil tank is ready
for installation.
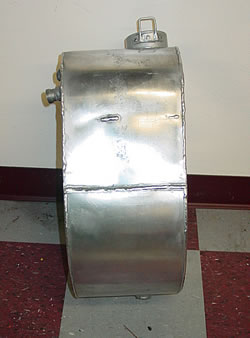
Another view.
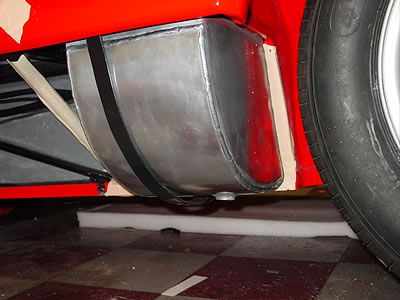
Oil tank is in.
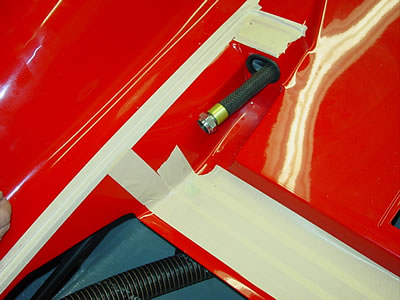
Here, one of the
oil lines is installed. The tape in the pictures is to protect
the painted surfaces when installing parts.
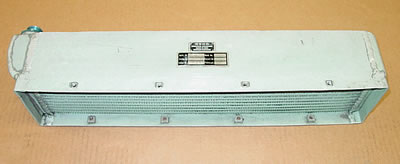
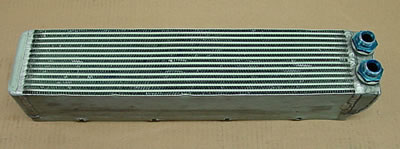
We really
lucked out. The cooler was painted gray, when we removed the
paint with paint stripper and the steam cleaner, the original
surface appeared new in looks.
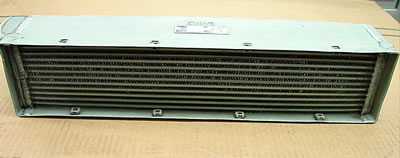
Another view.
We will install
new fittings.
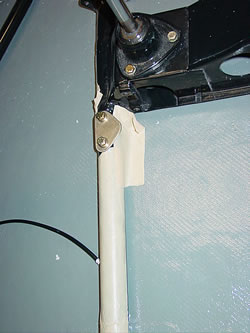
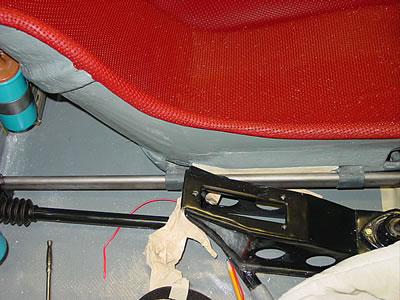
The bracket for
the seat is bolted to the bulkhead.
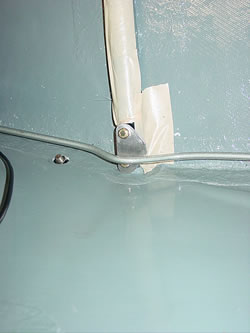
Both brackets
will receive the seat rails. When the seat slides easily,
the rails will be welded to the bracket.
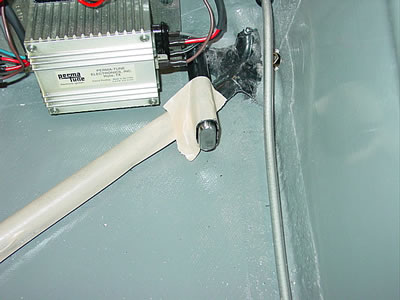
Because the seat
was lowered (for some tall driver), the seat rails have to
be altered.
The seat works
exactly the same, but the rails sit up about and inch higher
where they slide into the chassis at the firewall.
<<<
Previous Update | Next Update
>>>