906-138
October 14, 2002
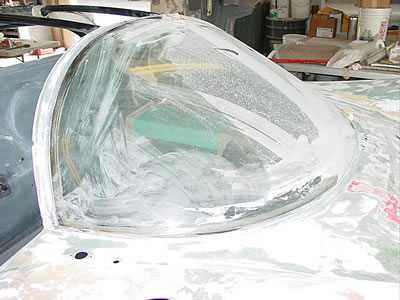
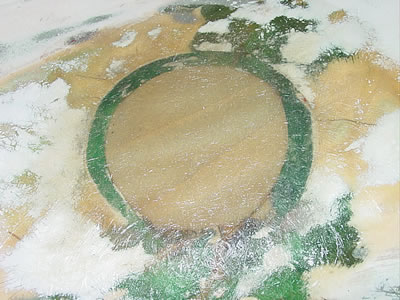
The only thing
this picture shows is the rubber missing from around the windscreen.
The rubber had to be removed by hand (knife, chisel, pick).
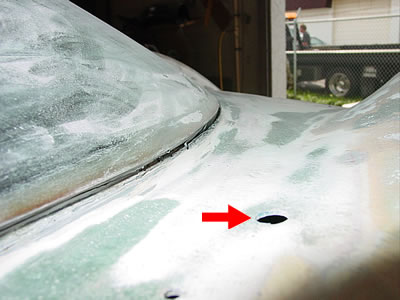
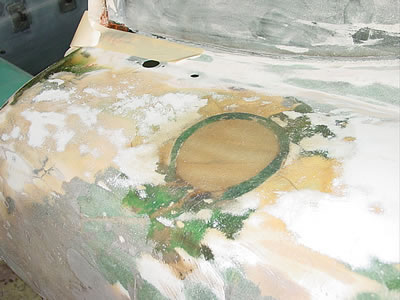
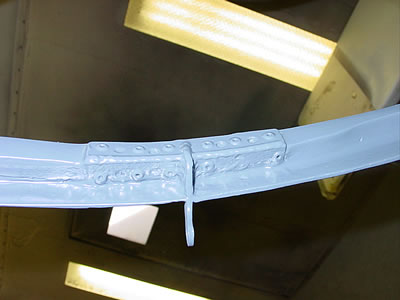
Here is a better
shot. The small hole on the right is for the electric cutoff
switch.
Hours
and hours of tedious work to save the original edges of the
window and the body.
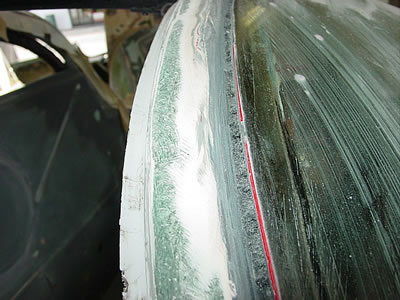
There
was a slight crack at the base of the windscreen so we re-glassed
it with epoxy. Epoxy resign is a little more crack resistant
and this is in a vulnerable spot for cracks.
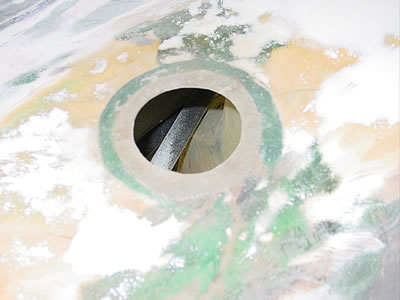
Here is a shot
of the oil filler hole glassed up.
The next step will
be to drill a symmetrical hole so we can line up the oil tank
and cap.
Once this hole
is made we can get a visual of the oil cap and cut a precise
final hole so the cap is centered.
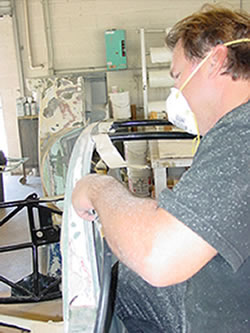
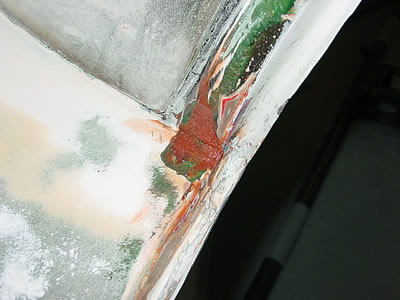
Jack is finalizing
the door seal grooves ( What a job!).
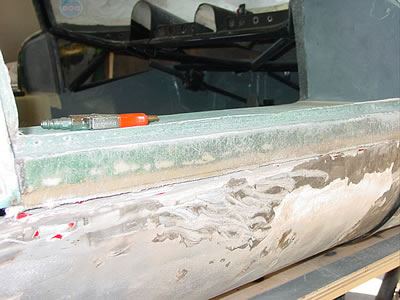
You can see the
amber color is the extension of the old worn out doorsill.
This was added so we can cut a straight line above the side
pod.
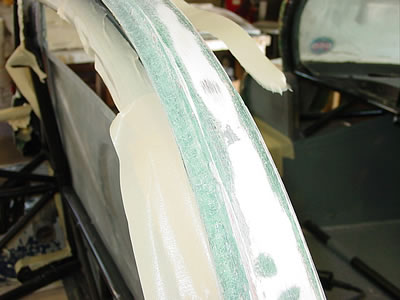
The groove is now
ready for a little bodywork.
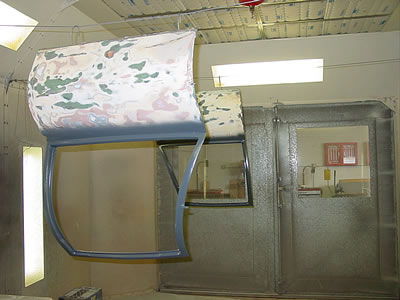
Don't adjust your
computer! The doors are upside down because it's the only
way to prime both sides (Duratec).

When the primer
dries, the light area at the base of the door will be reskined
in "S" weave glass.
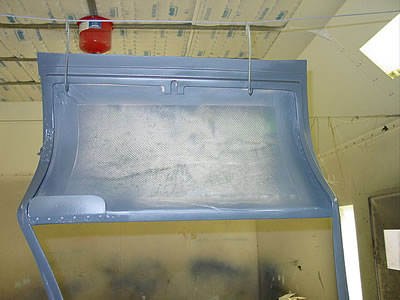
The door will be
sanded and painted navy gray on the inside.
This is
the factory installed hinge so that the door opens forward
and not up (gullwing style). It's a little crude but that's
the way it was done.
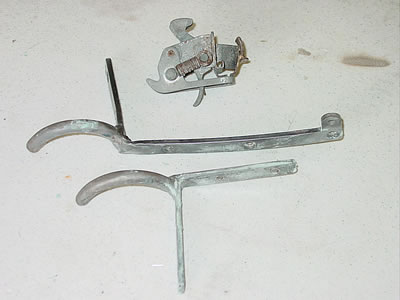
These
hinges will be re-plated silver zinc, but we will use them
now for fitting the door.
<<
Previous Update | Next Update >>