906-138
September 23, 2002
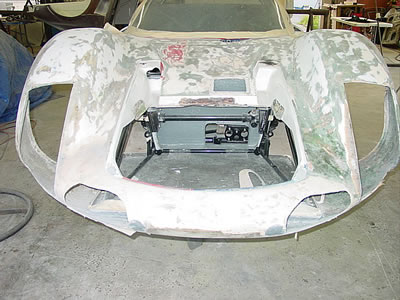
Now we're working
on the front brake air ducts. They are original, but like
the rest of the car, not bad enough to throw away and not
good enough to just leave in the state of disrepair.
We'll show you
a lot of detailed photos so you can see the steps in repairing
these two hunks of shit!
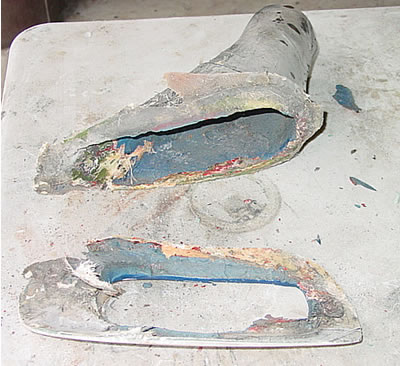
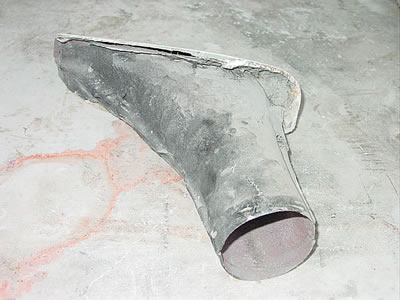
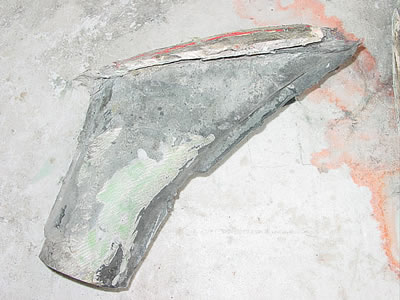
The piece on the
upper right is the area in the nose, which we cut out in order
to save what was left of the flange on the duct itself. Then,
we separate it on the workbench where we can see the whole
part.
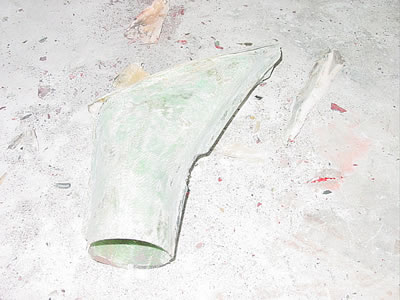
Just another picture
of all the garbage from years of crashes.
Same part, different
picture.
Same
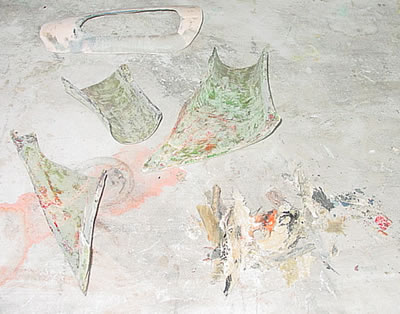
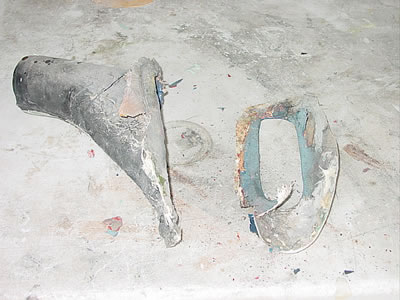
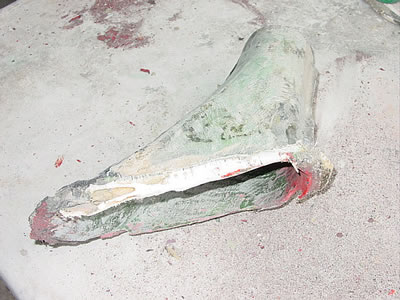
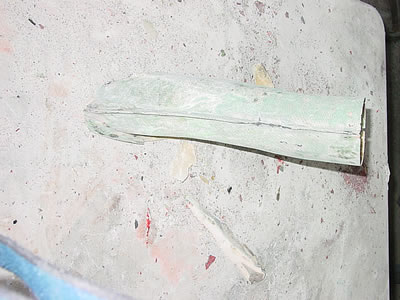
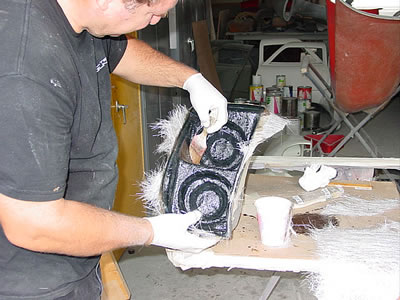
Now we're dissecting
the part. The piece at the top is the nose, the three pieces
in the middle are what's left when all the trash (lower right)
is painstakingly removed.
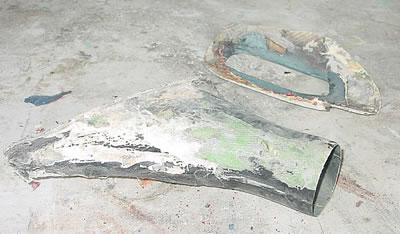
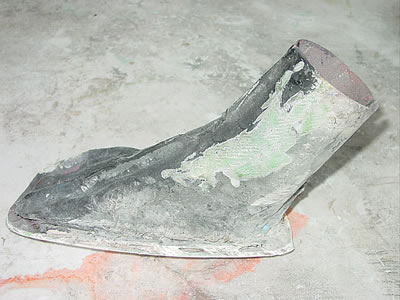
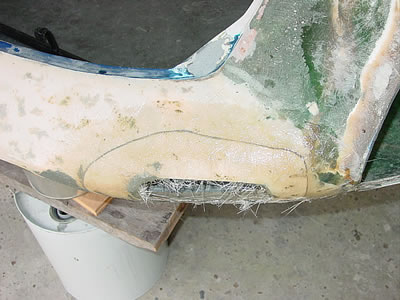
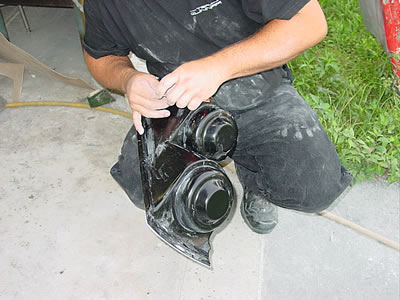
This is the other
side (brake duct).
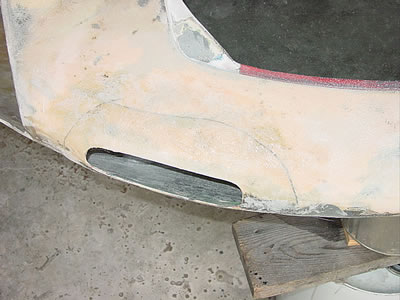
The before shot
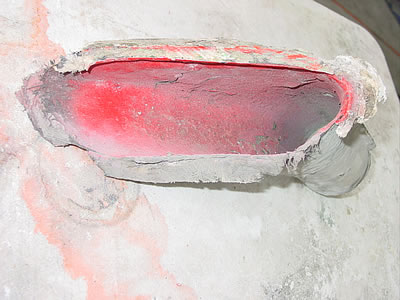
You can see if
you look close that the condition isn't that good!

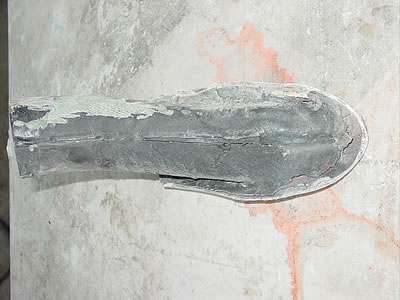
In the next step,
we'll split the duct into two pieces (which is how it's made
originally).
More of the same
Now the crap has
been removed.
Different shot
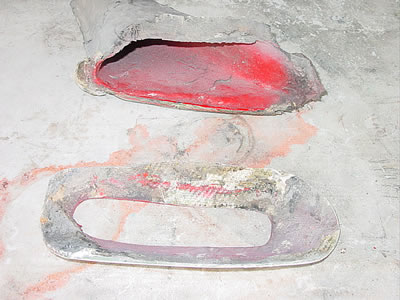
You can see where
we cut the ducts out. We will glue the brake duct surrounding
material back in the holes minus the ducts.
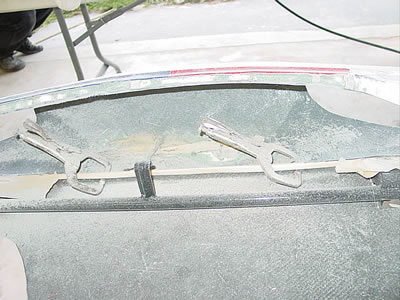
Now the part is
replaced by glassing it on the outside and we'll be ready
to finish it on the inside when this repair is cured.

The part is installed
and held in position with tape for a perfect fit. When the
outside is cured, we will match the surface area with a matt
layup.
The inside is now
finished and you can't even tell where the brake ducts will
be installed (we do this later).
Now the outside
is sanded and ready for bodywork. The duct will be installed
after it's rebuilt and after the inside of the nose is reskined
in 10oz. "S" weave glass (this will be the original
texture).
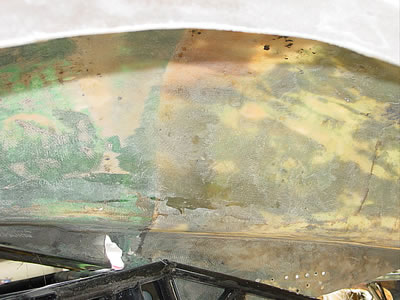
Here a picture of
the inside of the front right fender. You will notice two
different shades of resin. This is because the car was probably
crashed when it was near new. The green represents the construction
of the rest of the car and the amber color is a factory piece
more than likely installed at Porsche. Nobody in those days
took the time and detail to do such a great job in splicing
the two pieces together. Later we will tell you how and why
this car got the special attention that it did (this car is
full of titanium, get the hint?).
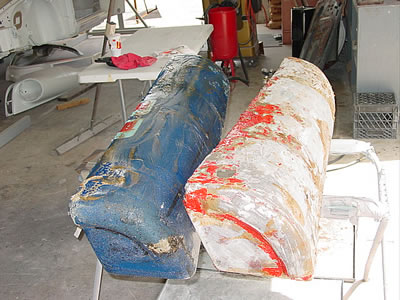
These are the gas
tanks which are being stripped so we can see if they are savable
or not.
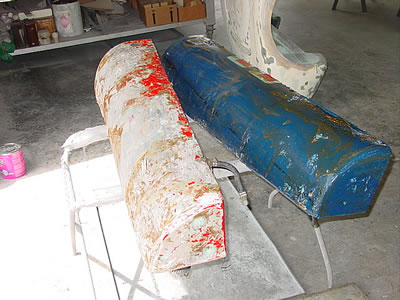
The gas tanks are
aluminum and in very bad condition.
The finished mold
will be six layers of matt.
Jack is removing
the mold from the headlight plug and will be making new parts
in the morning.
<<
Previous Update | Next Update >>