906-127
October 7, 2005
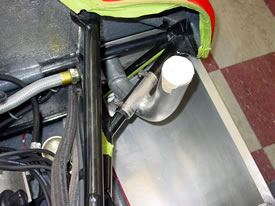
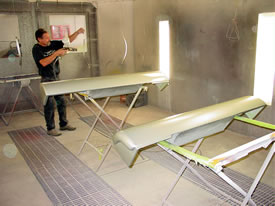
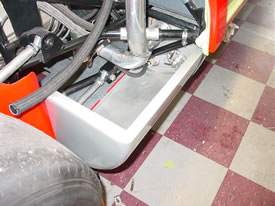
Before
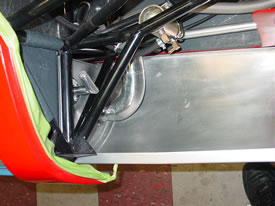
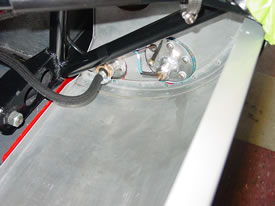
the side pods get paint, we make sure all the plumbing is
fabricated and all fits together from left to right. Here,
the cross over tube, the fuel pickup and vent, and the gas
filler neck are installed. We will attach the filler, FIA
approved, when the tanks are installed for the final time.
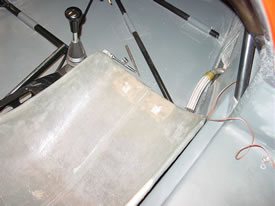
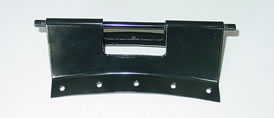
Jack is
taping the inside of the fuel pods because we don't want these
surfaces to be painted.
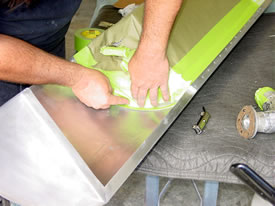
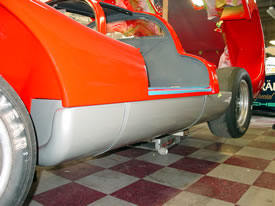
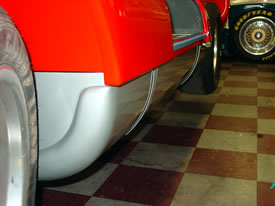
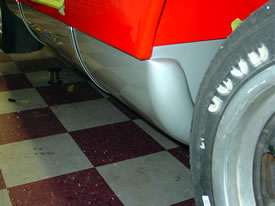
In the
old days, 1966ish, the pods either came bare aluminum, or
they were painted silver or a color to match the car. The
original owner says that these pods were painted silver.
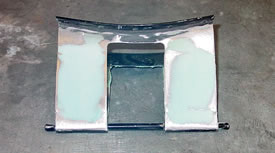
If the
pods are painted, maintenance is minimal. If you try to polish
the surface, it will dull and look like crap in a vintage
race weekend. The only way to make them pretty again, is to
remove them from the car. It is very difficult to keep an
even luster with the two straps that hold the tank in place.
You can imagine every stroke of polish ends at a strap and
leaves an ugly skid mark. It's not very nice looking. Paint,
on the other hand, you can wax, you can apply vinyl protection
film, or just put duct tape on to help protect from chips.
At a distance,
they look just like aluminum anyway.
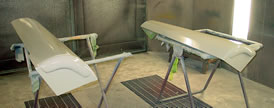
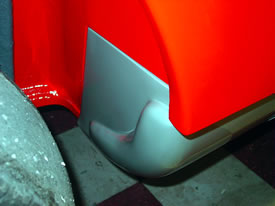
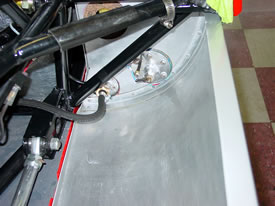
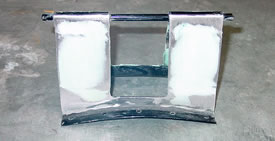
Now the
tanks are installed and all the polished fittings are in place
and being hooked up.
$20,000.
later, these pods look pretty good!
Remember,
these are fuel cells and the plumbing has to be done in a
way that it still looks original and is serviceable.
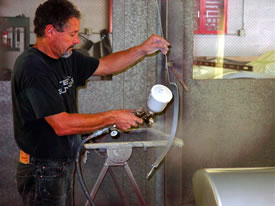
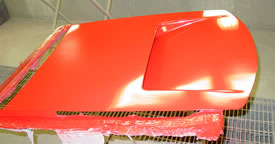
While
Andy is plumbing, I am painting the front cooler cover with
red primer for the final fit.
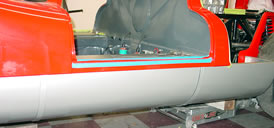
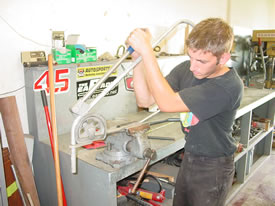
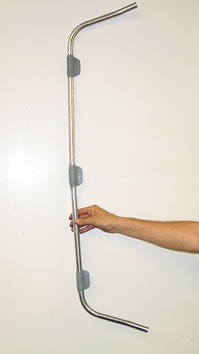
Here,
Devo is bending the new tank cross over vent pipe. A conduit
bender is the easiest way to bend thin walled aluminum.
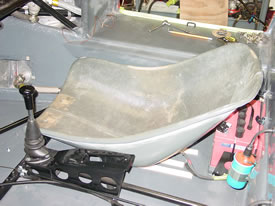
The seats go to the upholsterer on Monday, but the passenger
seat needed one final fit. We make a different firewall mount
for the back of the seat because we use an aircraft battery
(installed behind the seat) that is a little bigger than original.
We use an aircraft battery because they have special one-way
valves so the gasses can escape but not the acid. This battery
also gives more cranking amps to start the motor every time.
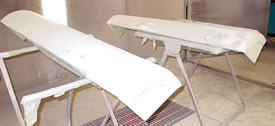
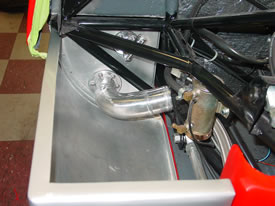
The tanks
are almost finished. Devo is done with the vent pipe and I
just attached the fiberglass mounts.
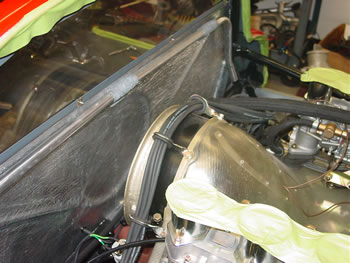
The pipe is now installed and Andy is hooking up the vent
tubing from the tanks.
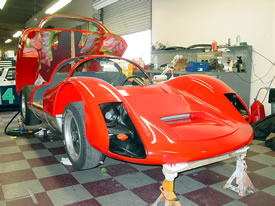
The front
hood is fit on the car. You can see why the battery behind the
passenger seat needs a taller bracket to keep it from hitting
the battery.
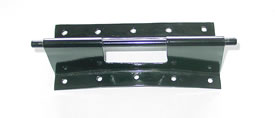
Some of
you 906-910 owners might have an aluminum bracket, which are
also original. This car happened to have the steel (customer
car) one. We cut the center and added four 2" pieces
to make the bracket taller and give the seat a perfect clearance.
After
the pieces are welded in, a little body work and some satin
black and we'll pop rivet them in before the seat is upholstered.
We choose to use the original steel bracket because this car
might be toured and the passenger seat needs to be stronger
than original. We also strengthen the front bracket of the
seat so it can't spin with the weight of a person. If you
have looked at a 906-910 seat, you will know what I'm talking
about. Until next week...
<<<
Previous Update | Next Update
>>